

PIONEER AVH-2330NEX — IT’S LIKE GETTING A NEW CAR!
See, step-by-step, how it was installed in my Mustang
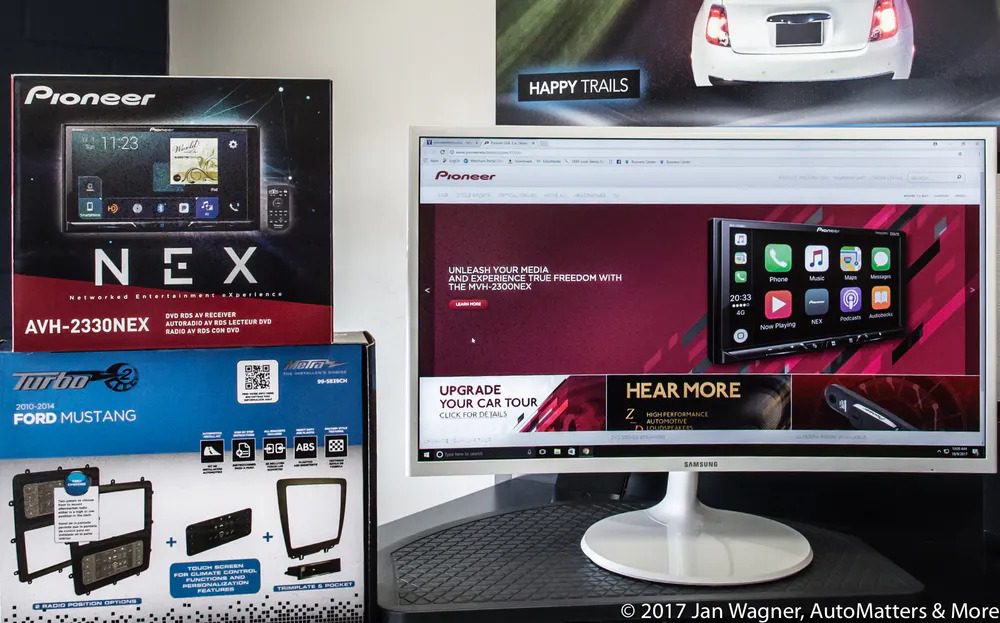
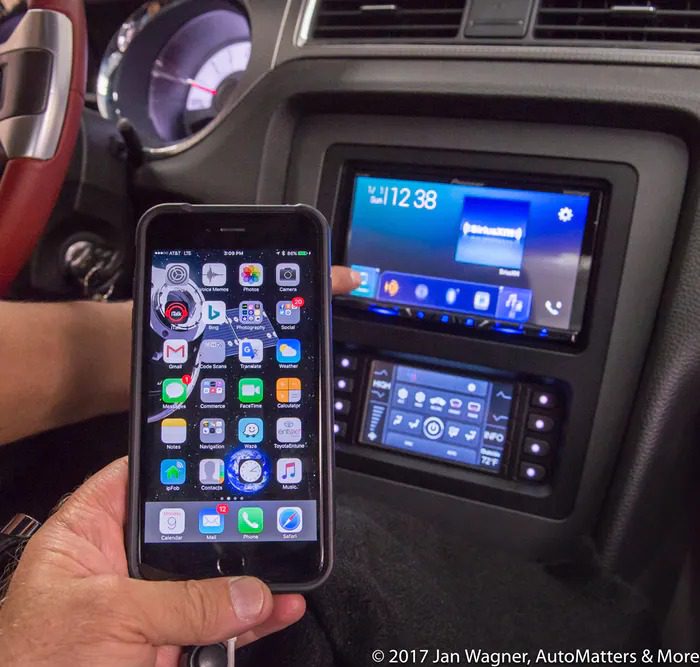
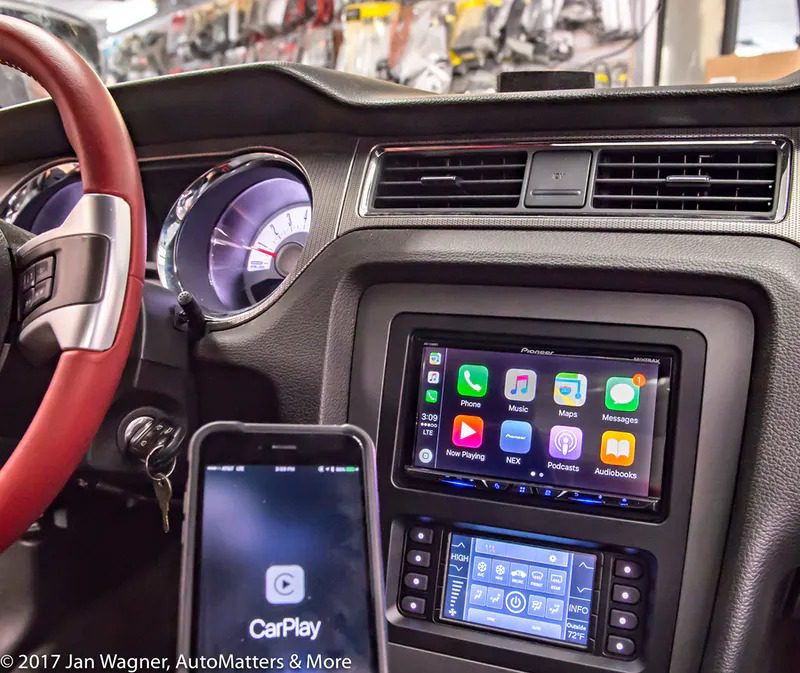
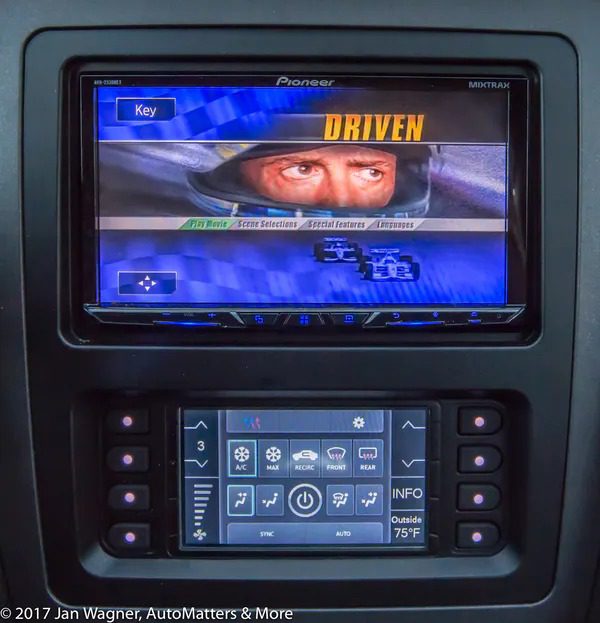
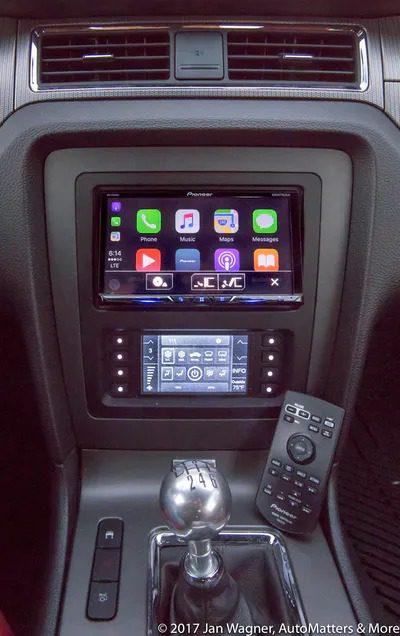
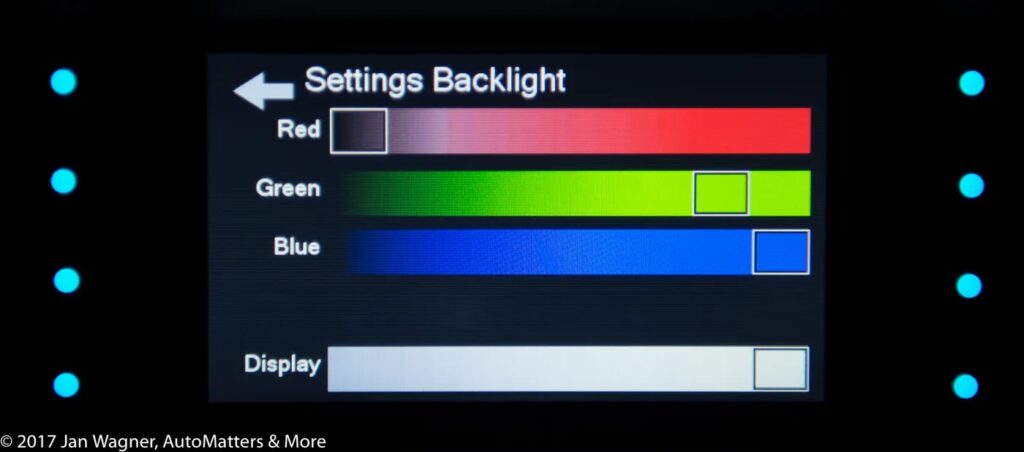
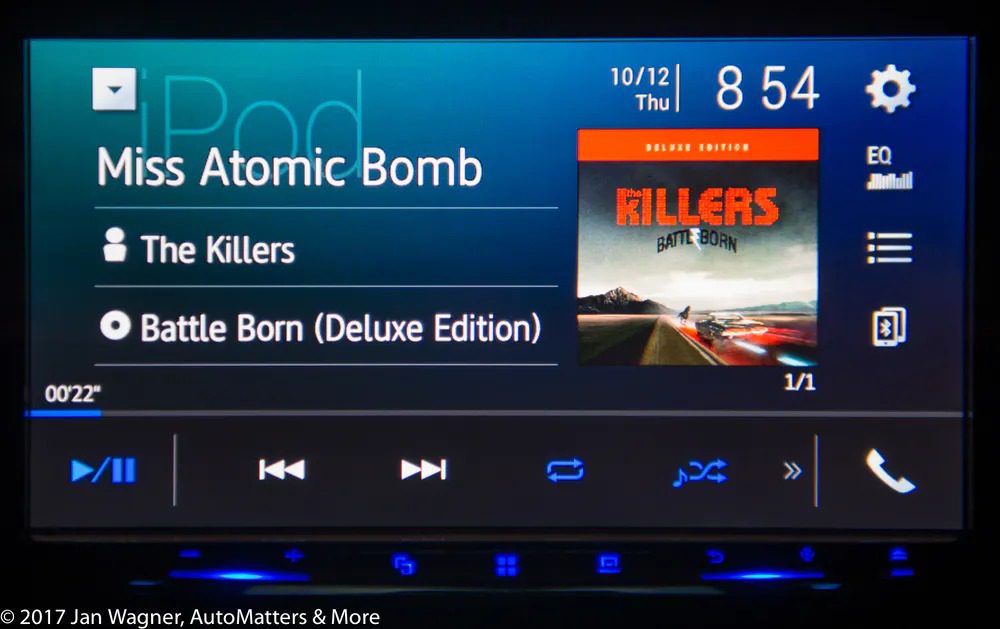
Pioneer’s NEX line of receivers features a new, responsive and powerful user interface that is highly customizable and designed to integrate especially well with today’s smartphones. The Pioneer AVH-2330NEX is a state-of-the-art, in-dash, AM/FM, CD and DVD, double-DIN receiver with a 7-inch, motorized, 16.7 million color touchscreen, wireless remote control, built-in HD Radio for crystal-clear reception and dual backup camera inputs.
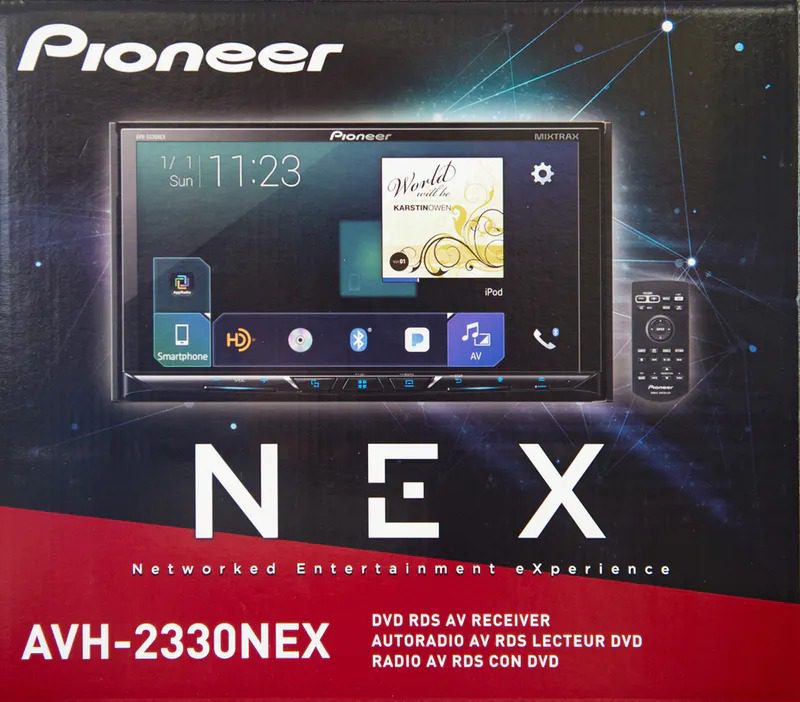
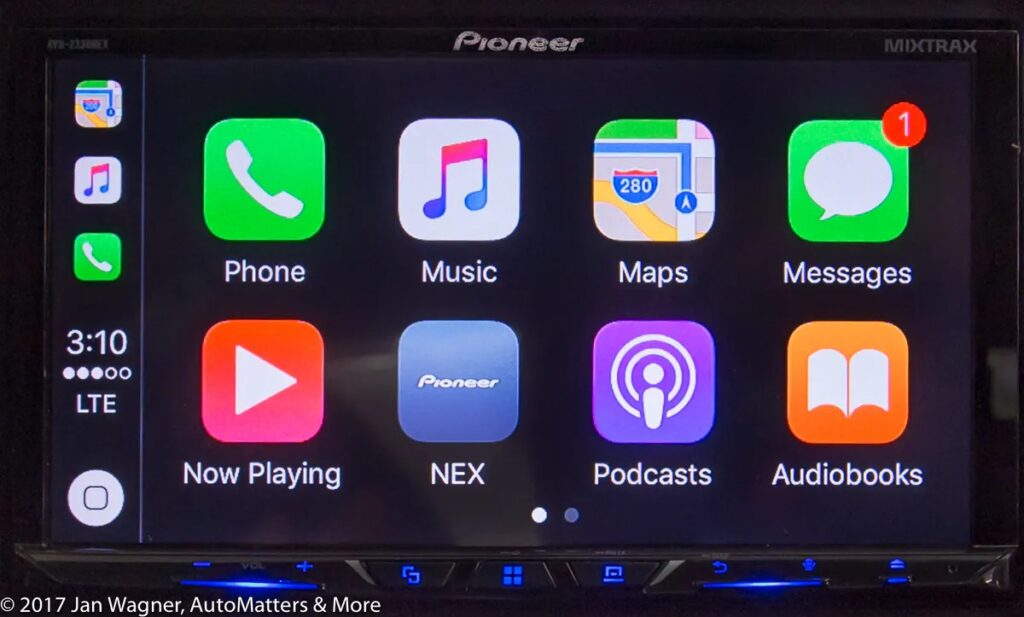
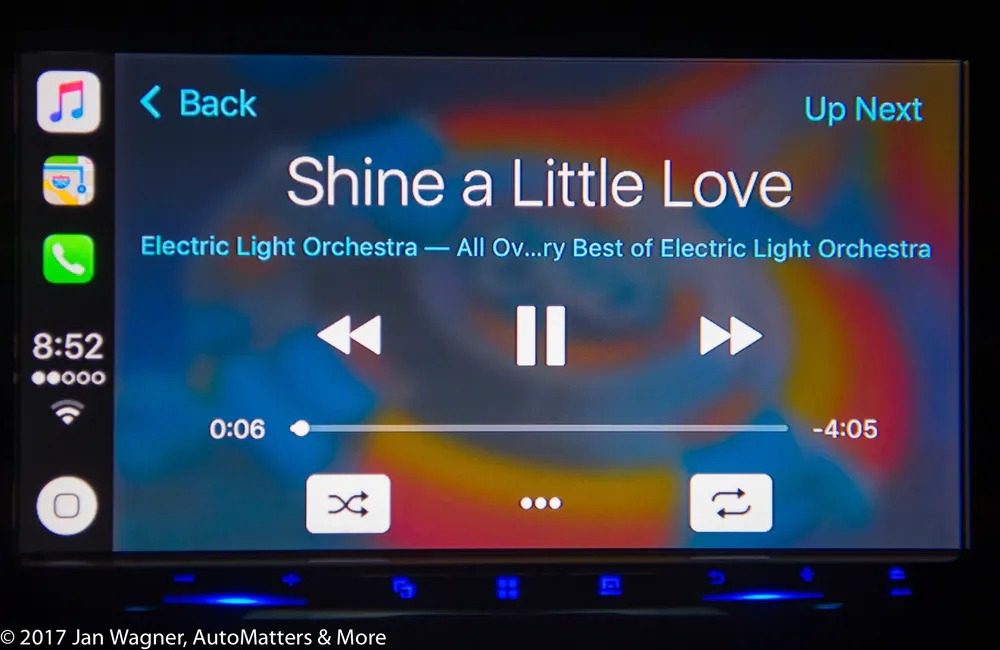
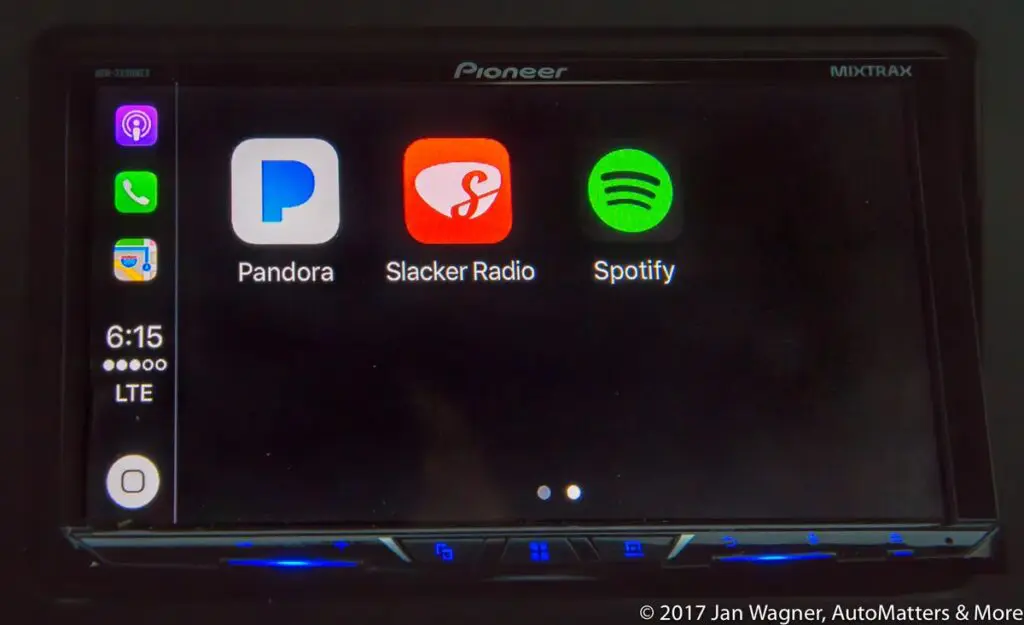
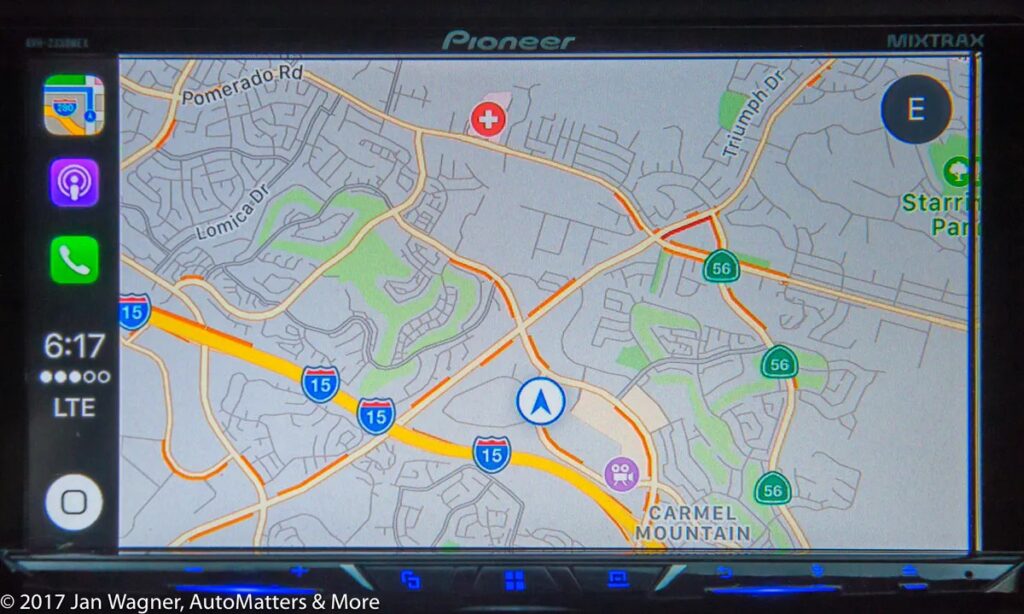
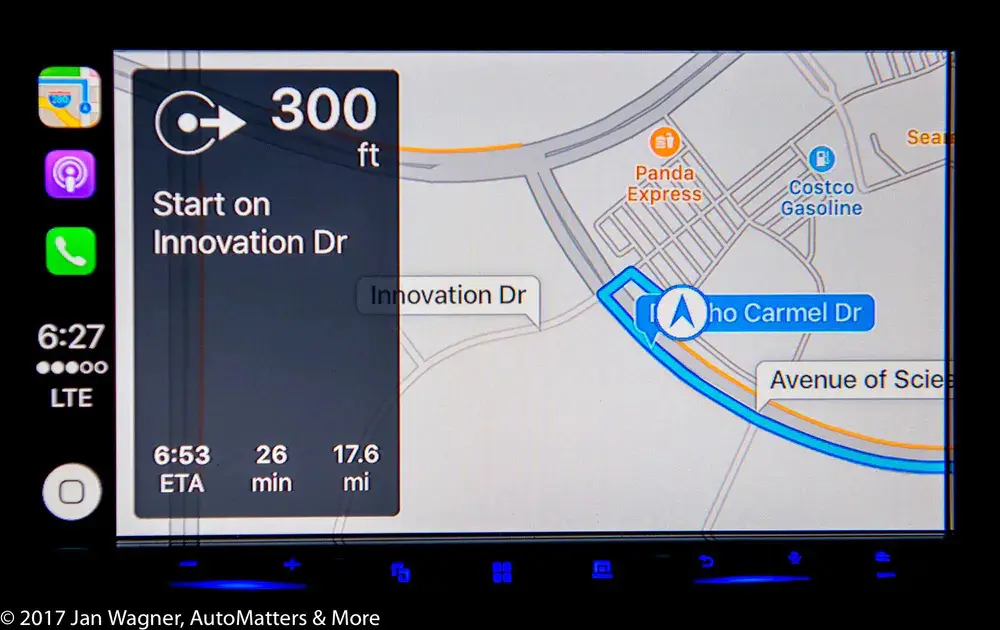
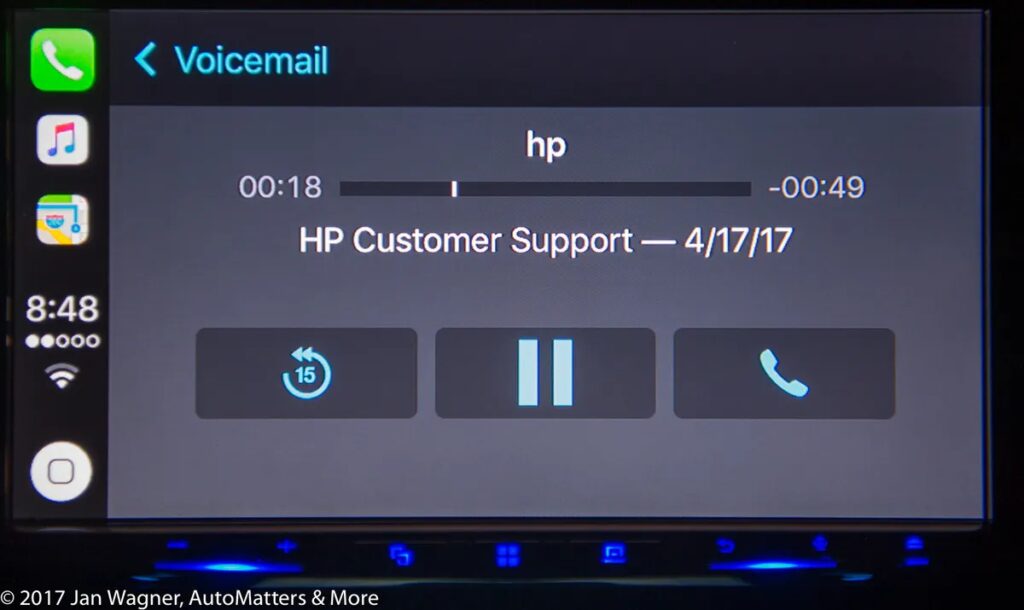
For iPhone users, the AVH-2330NEX features USB direct control and direct digital signal transfer, for clear sound and charging; and Apple CarPlay with Siri for easily and intuitively using voice or touch to make calls, use Maps, listen to music and access messages.
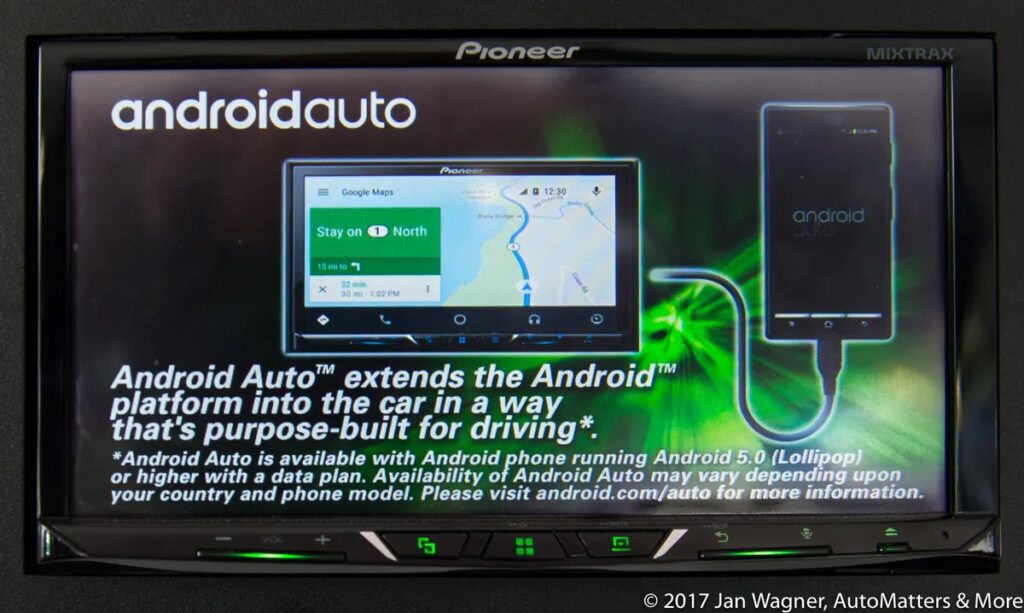
For Android users, the Pioneer AVH-2330NEX features Android Auto, which is purpose-built for driving. It automatically provides useful information organized into simple cards that appear when they are needed, to minimize distraction. Android Auto is compatible with Android phones running Android 5.0 (Lollipop) or later.
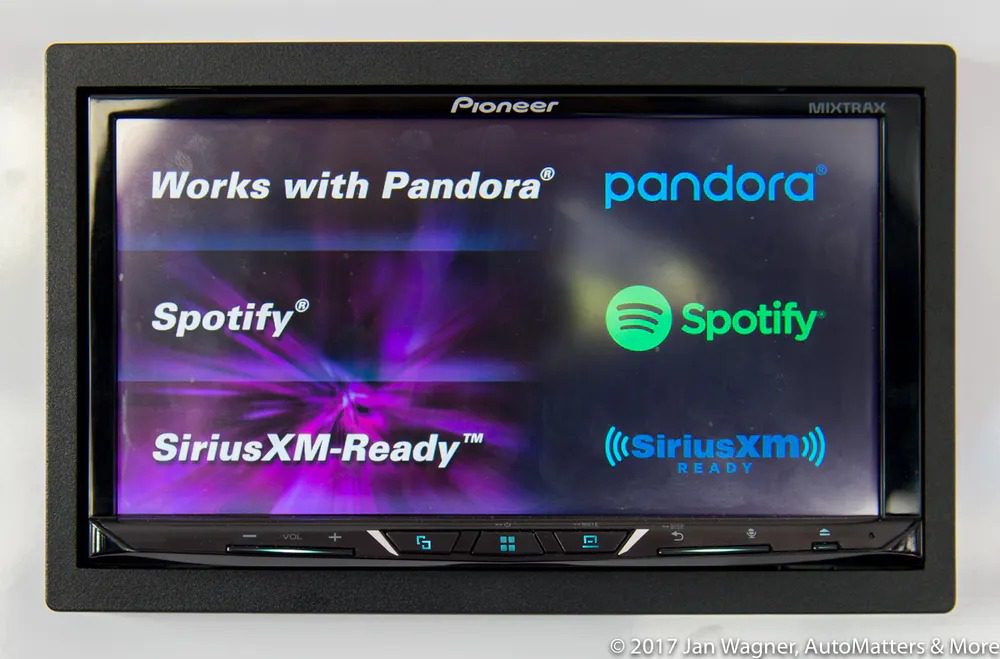
Pioneer’s AppRadio offers compatibility with popular in-vehicle apps for compatible iPhone and Android smartphones.
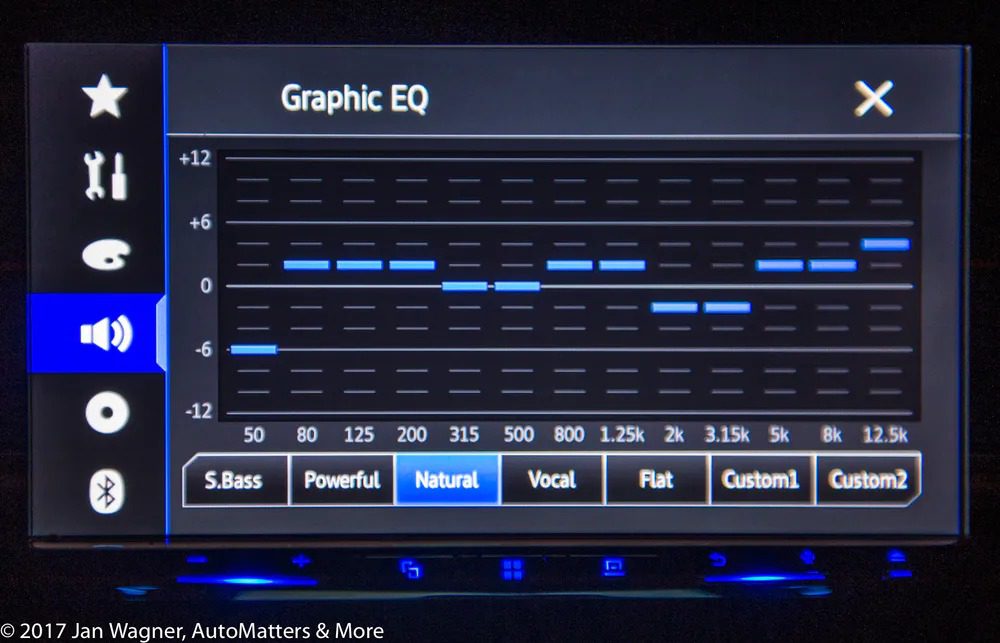
… built-in Bluetooth for hands-free calling, wireless streaming audio and voice control through selected devices; 13-band graphic equalizer…
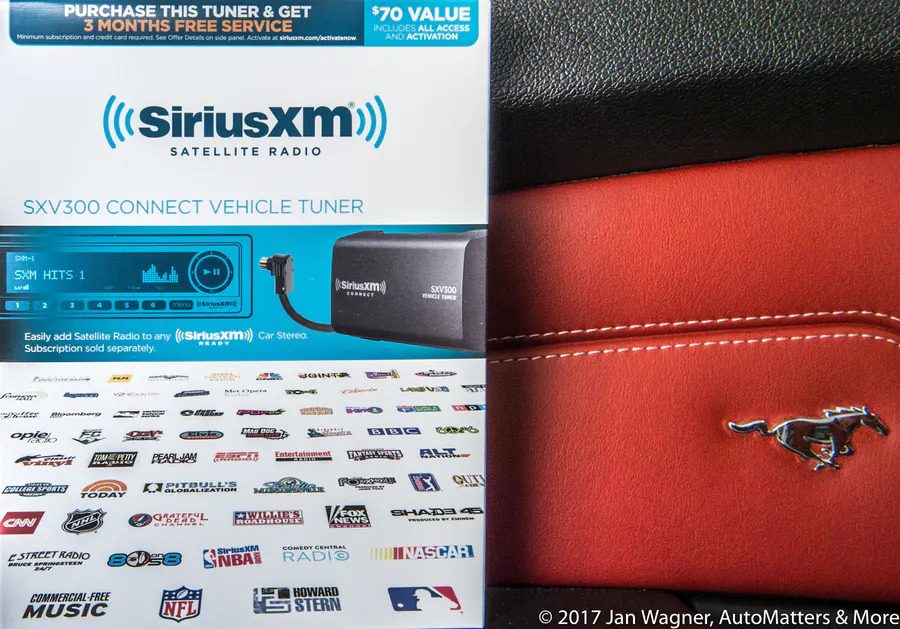
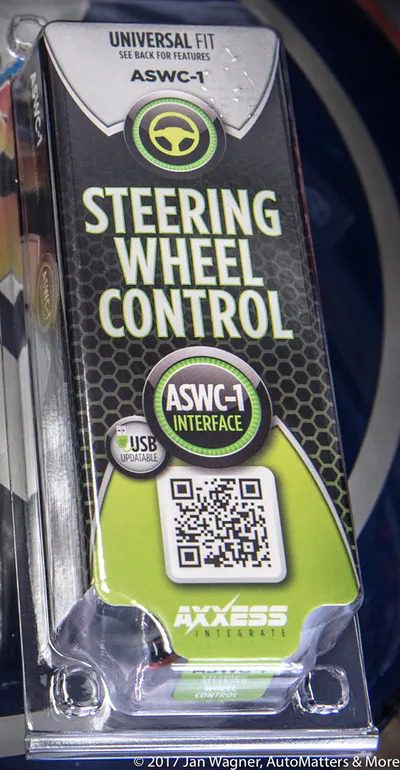
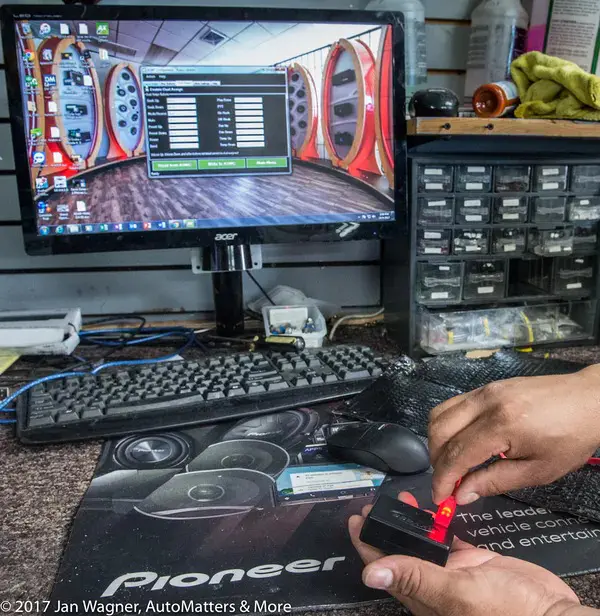
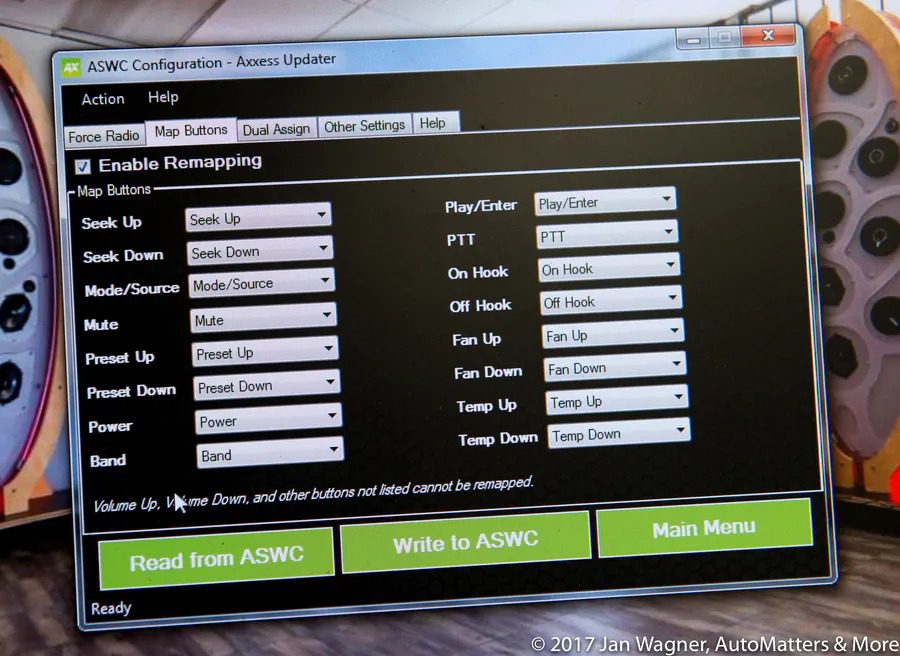
… steering wheel remote control input when used through a third-party adapter; and an optional SiriusXM Satellite Radio tuner.
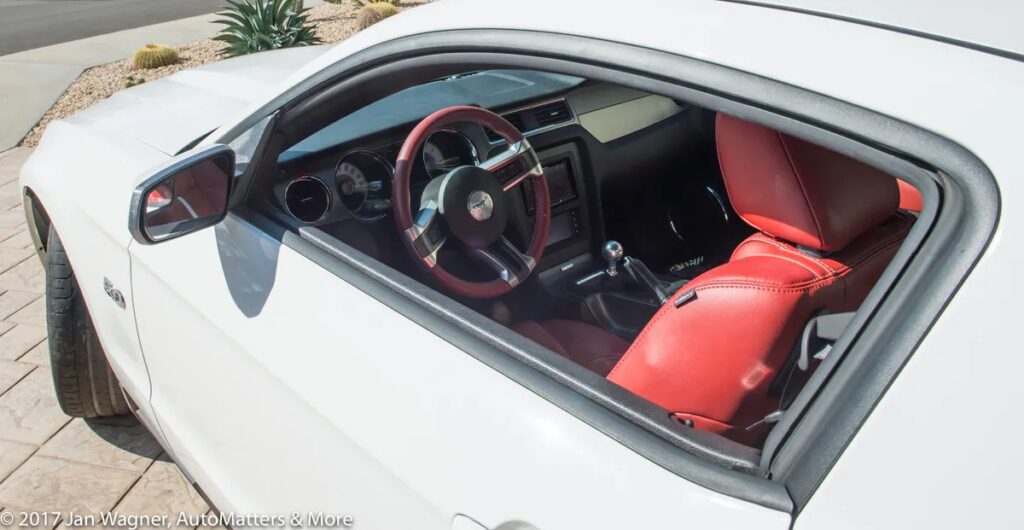
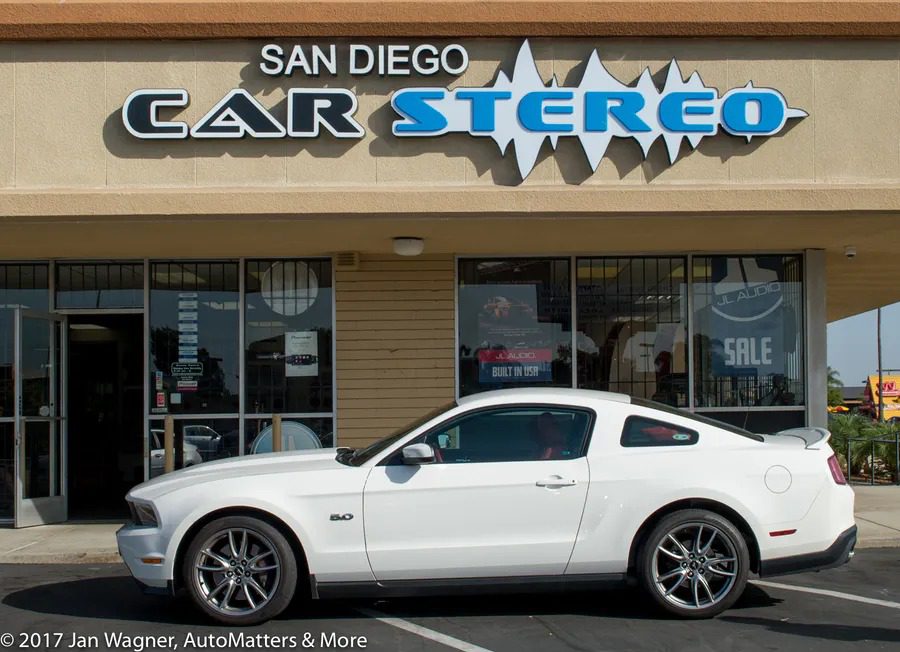
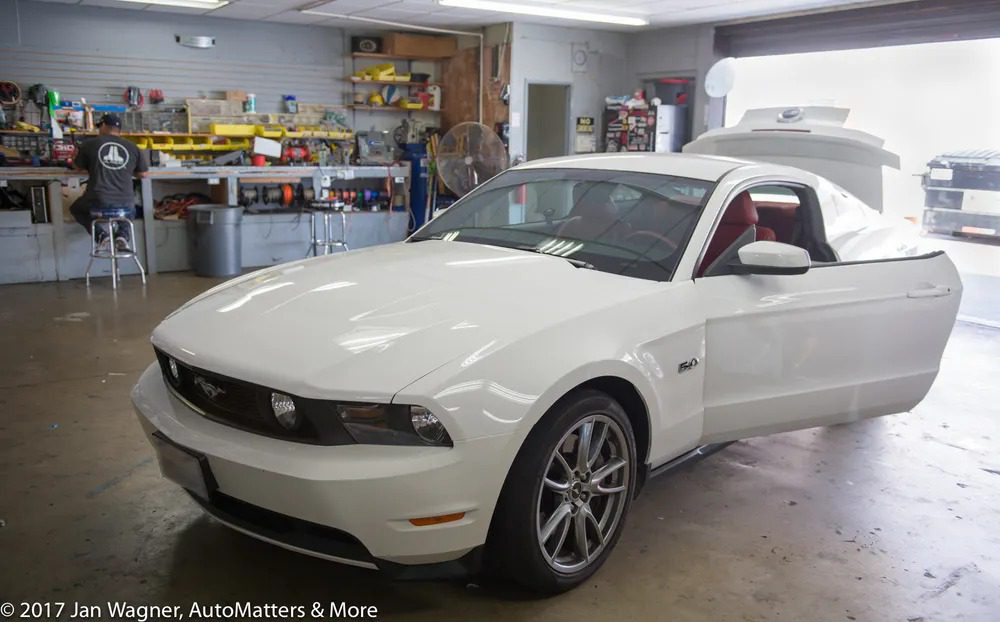
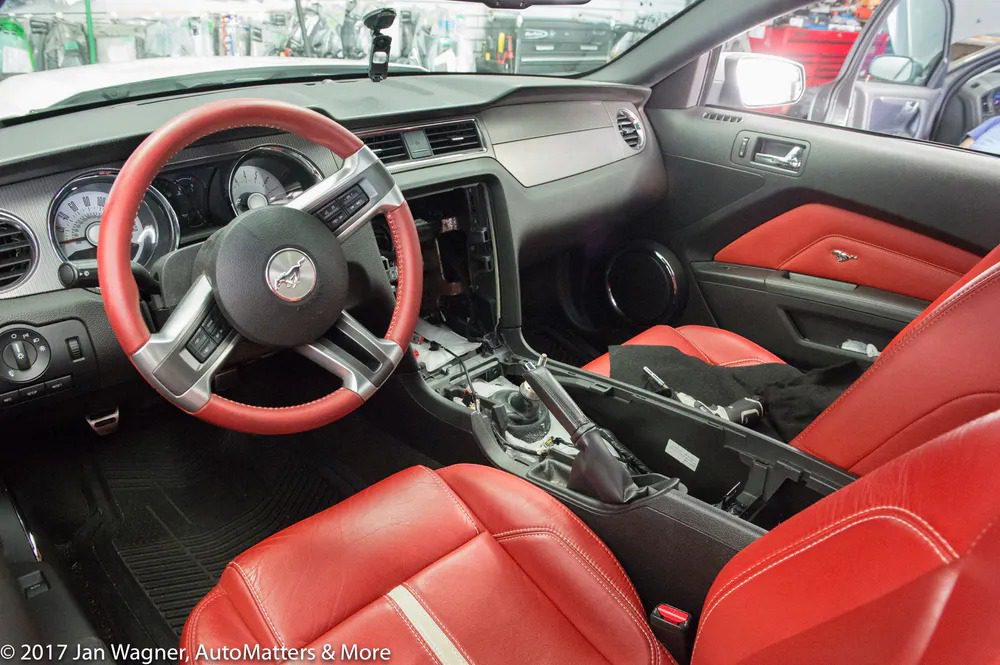
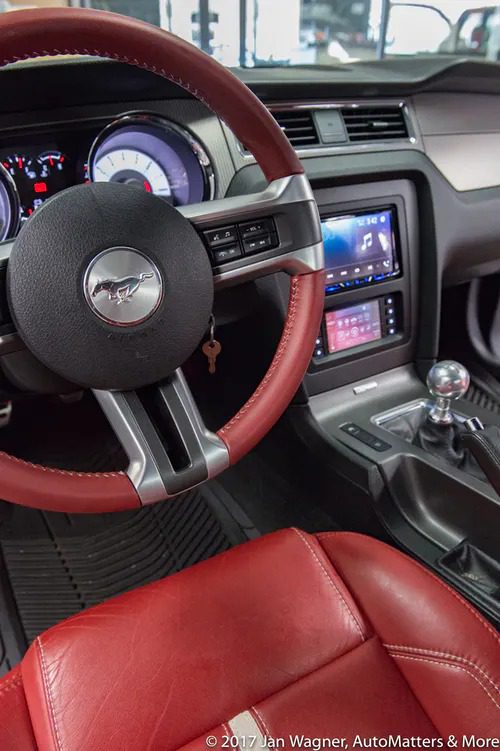
As Pioneer demonstrated when they had their AVH-2330NEX installed in my 2011 Ford Mustang GT, this audio system really can make a car seem new again.
Years ago, when I bought my car, I passed on the expensive factory touchscreen navigation option. That relegated my audio system to a thin, monochrome text display.
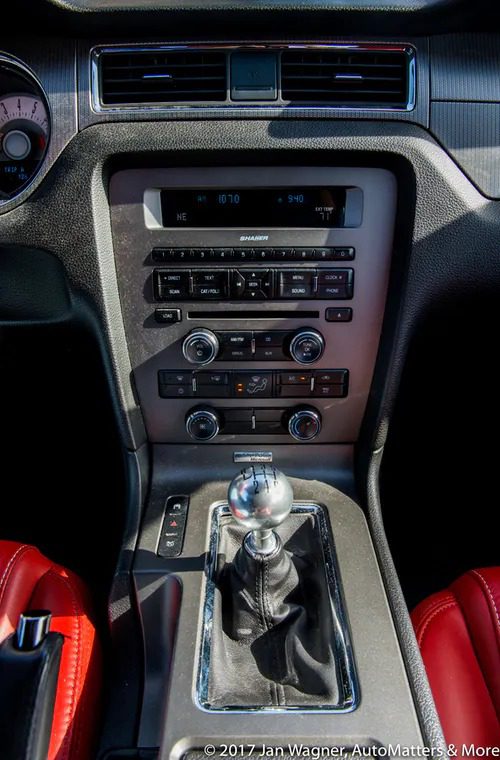
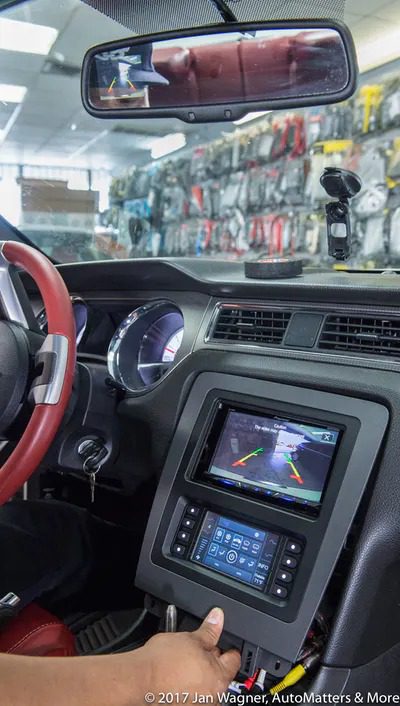
The Pioneer system features a large, brilliant, colorful touchscreen.
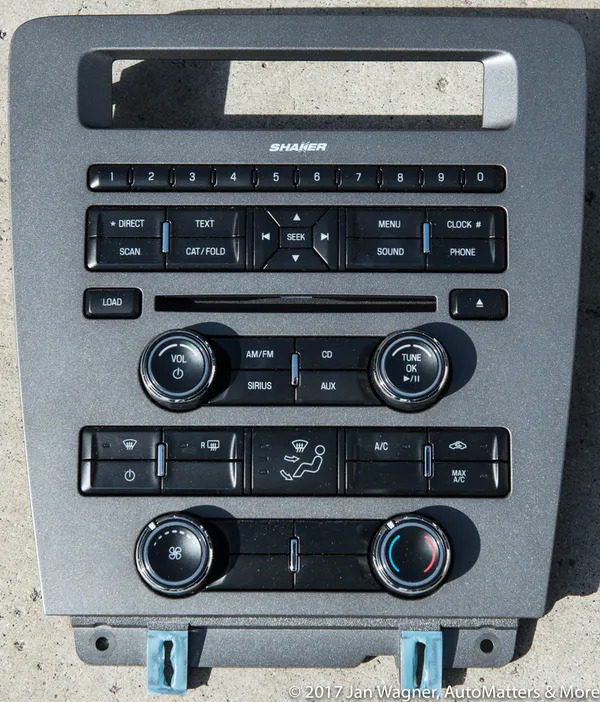
Even though my car had the 500-watt, 8-speaker, single-CD Shaker 500 audio system, it did not have a graphic equalizer, so audio adjustments were limited to the usual bass and treble, left to right balance, and front to rear fader sliders. Of this, Edmunds.com wrote (on March 20, 2012) “… the audio sucks … there’s very little adjustment. You can’t boost bass without elevating the more obnoxious bands of midrange, and when you do, the speakers simply reproduce a hollow, low-end buzz with minimal definition.” The difference in sound quality between that and the Pioneer system is like night and day.
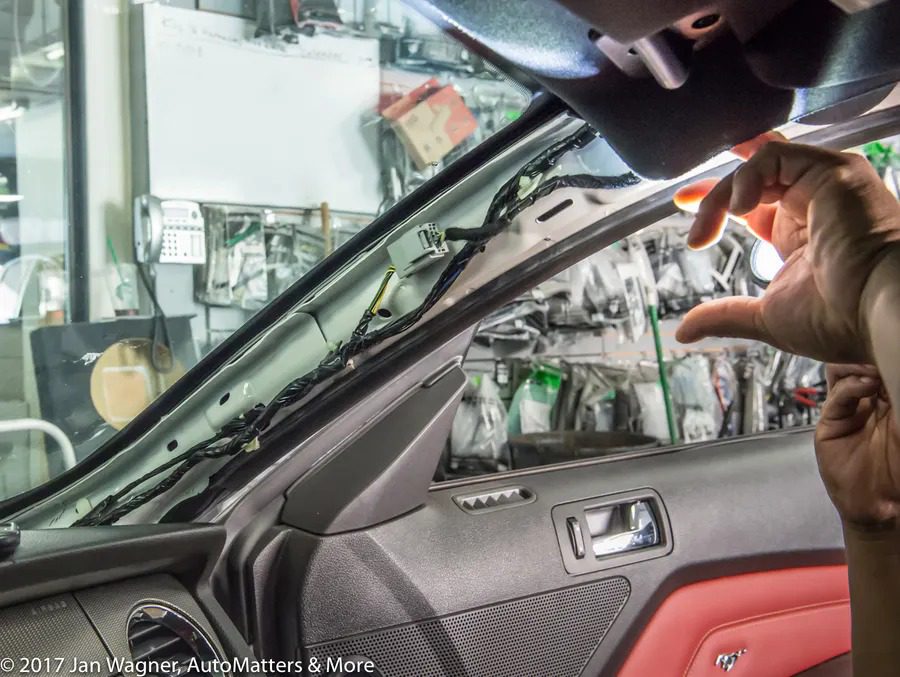
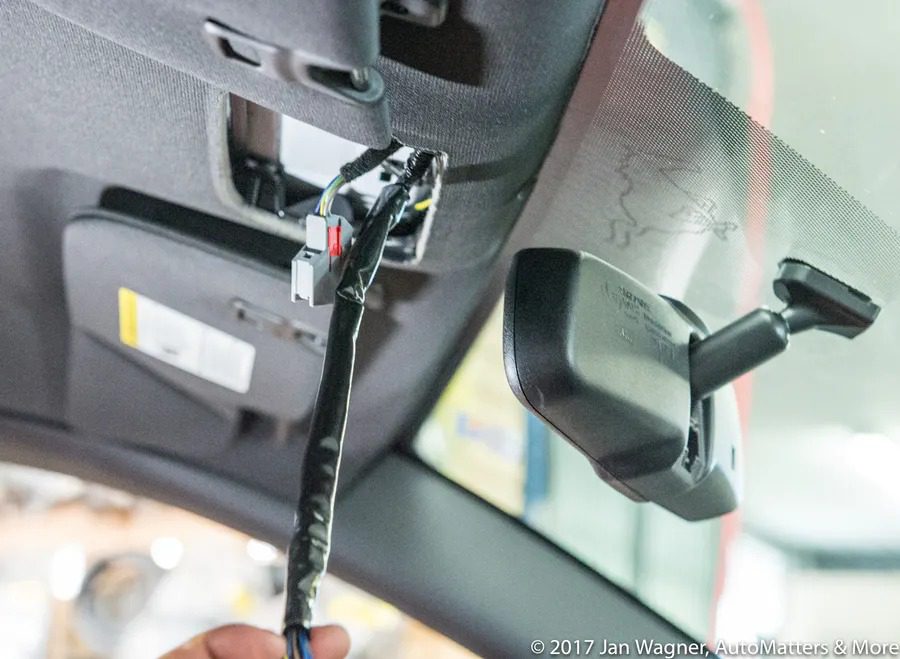
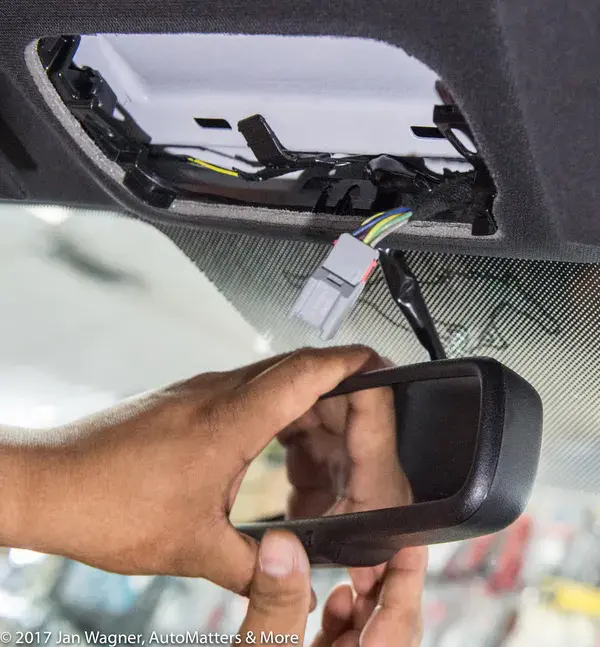
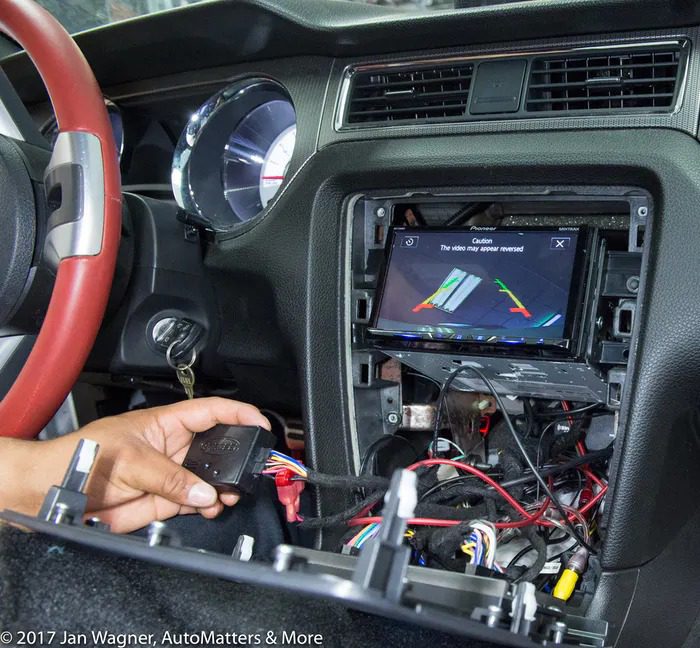
Since my car originally did not have the large color screen, the picture from my backup camera was only displayed in a space that is just a little bit larger than a postage stamp, on the left side of the interior rearview mirror.
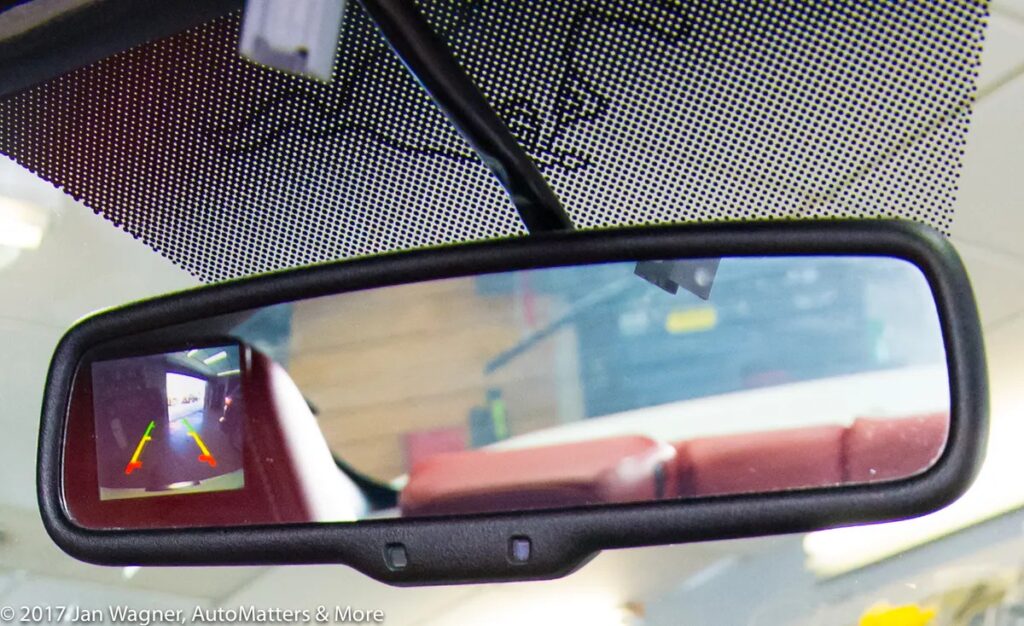
Now I can see the backup camera displayed there and on the 7-inch touchscreen.
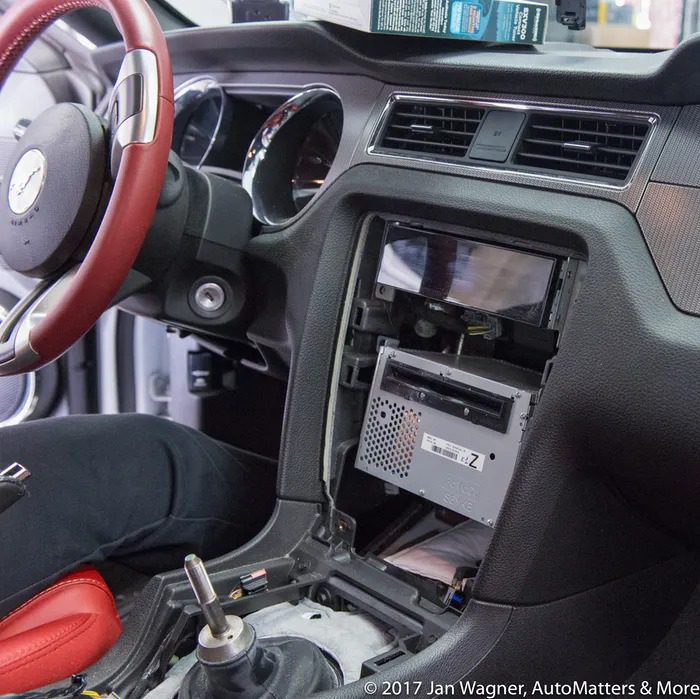
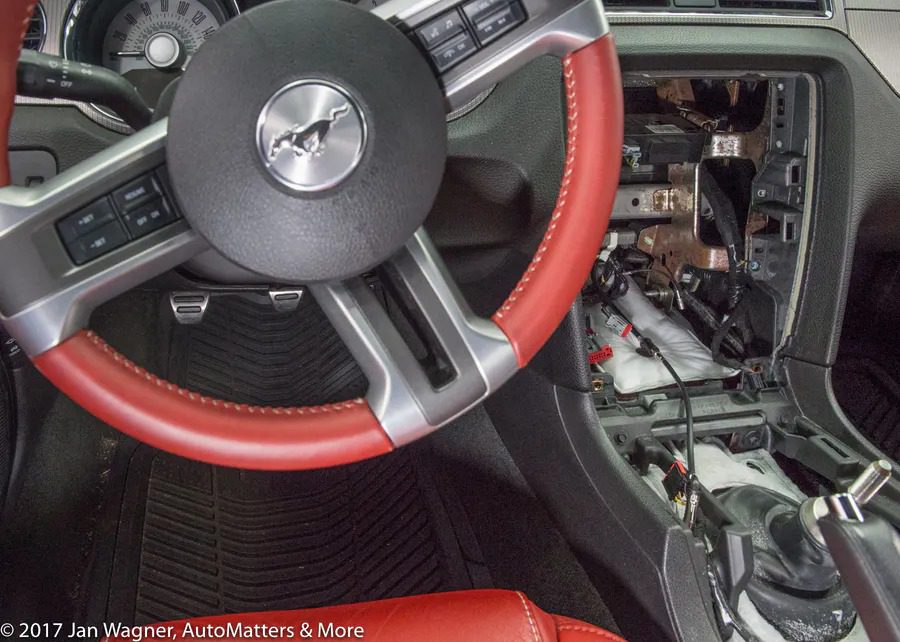
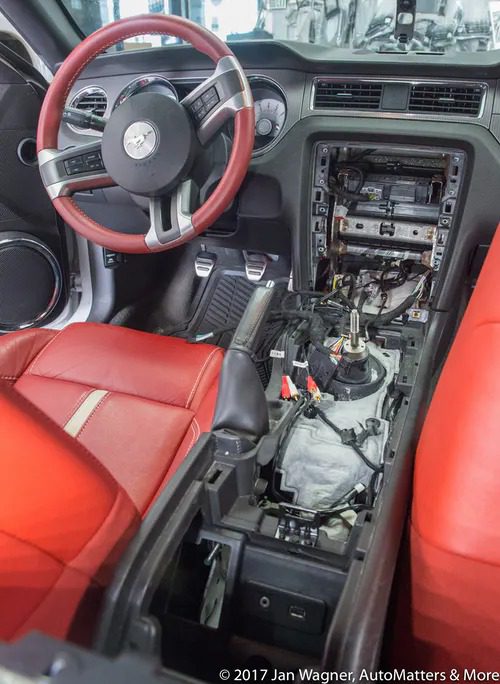
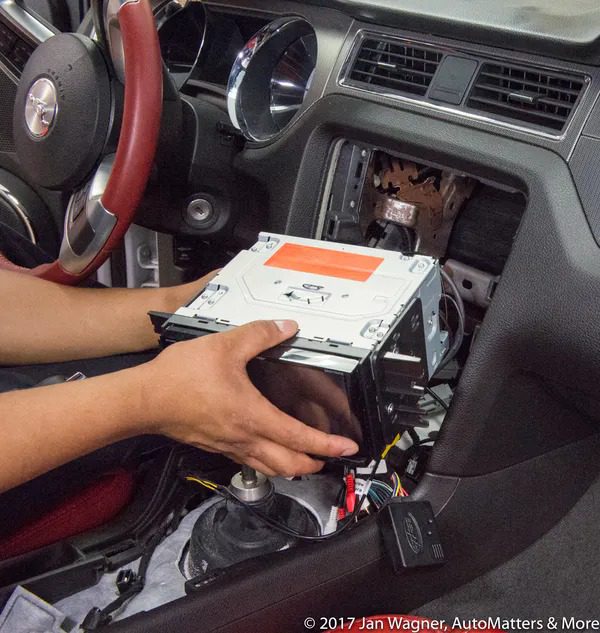
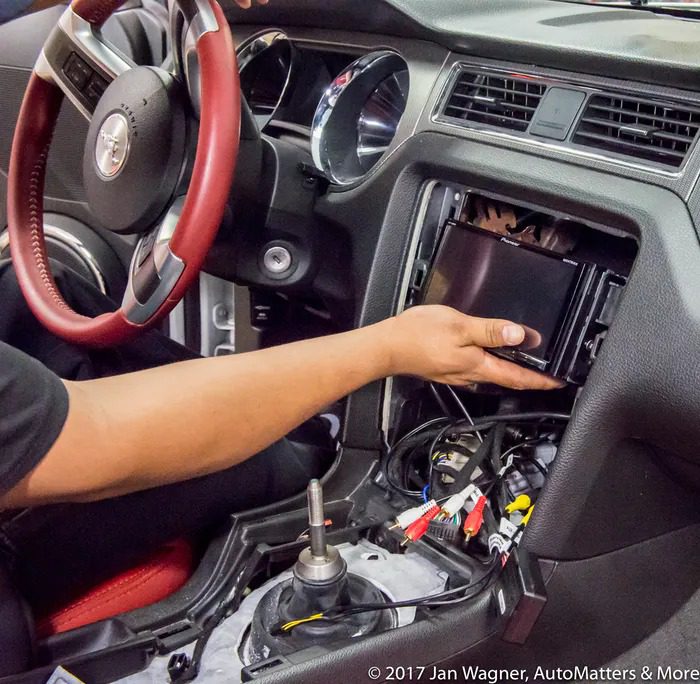
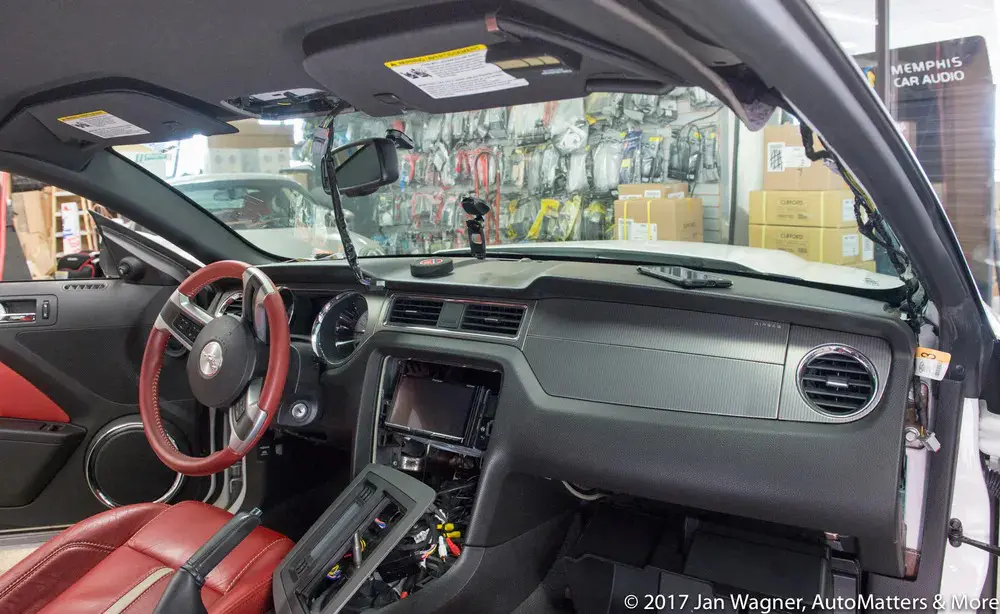
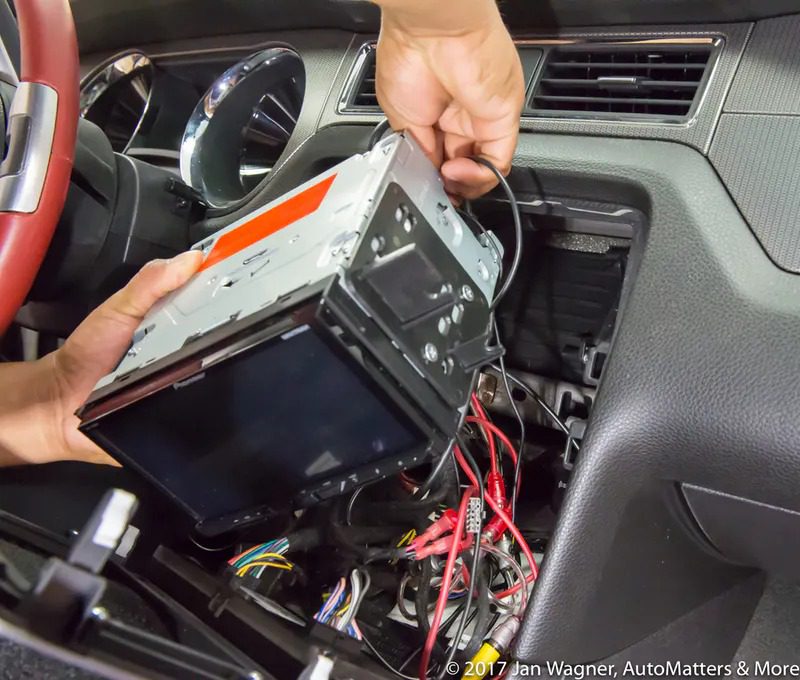
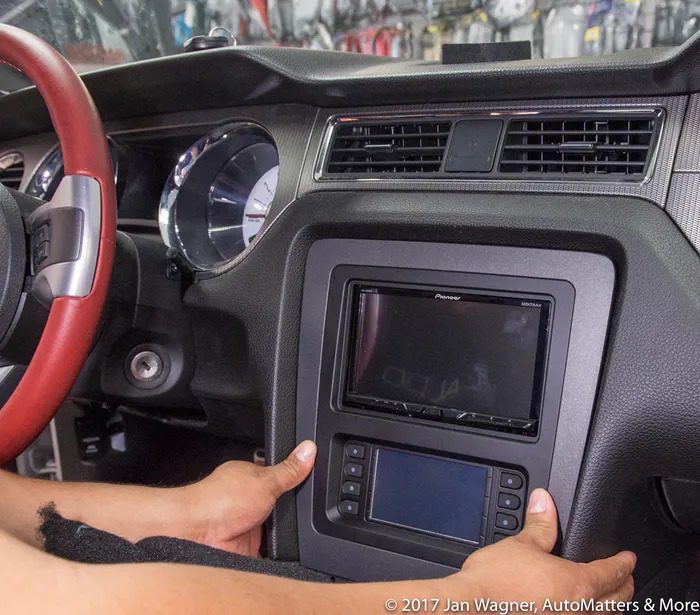
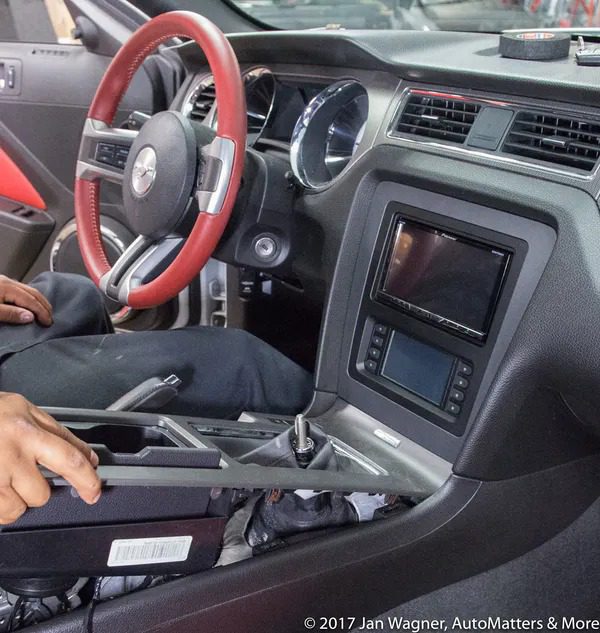
Pioneer arranged to have my AVH-2330NEX installed at San Diego Car Stereo, where I photographed the installation process from start to finish.
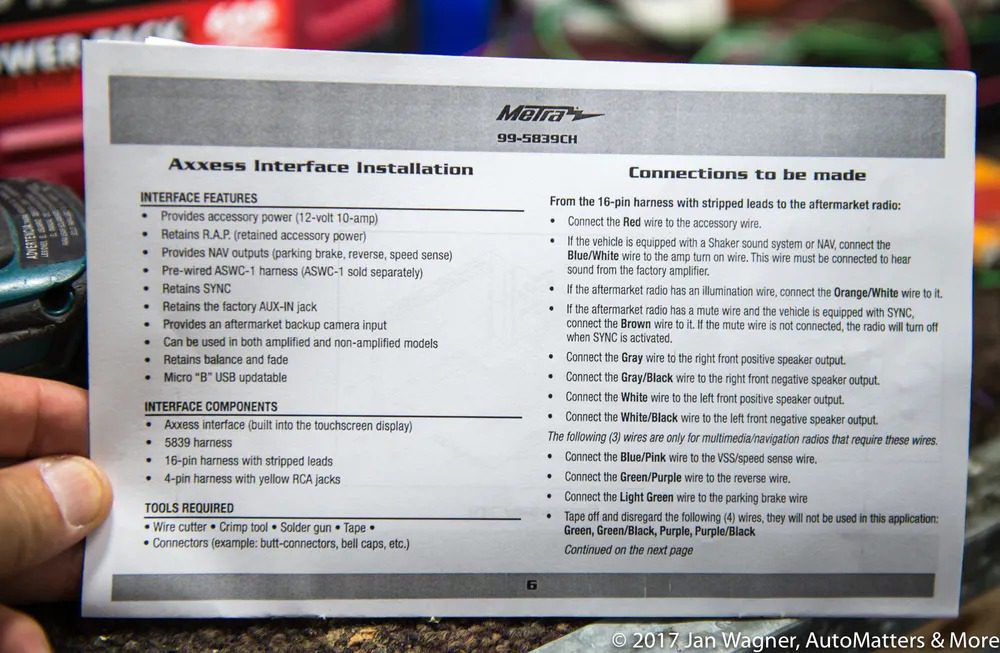
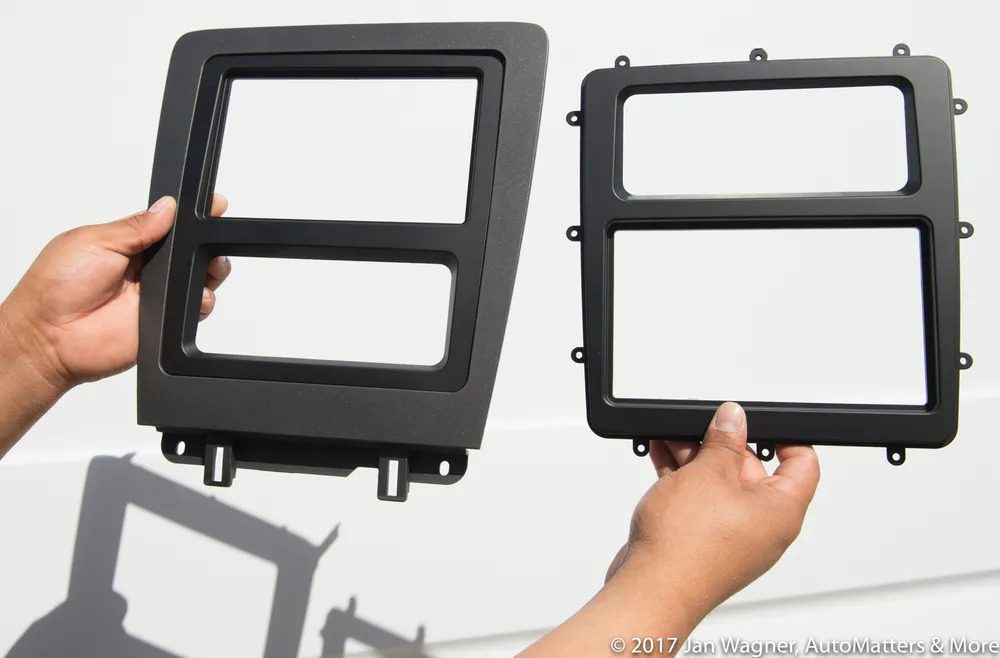
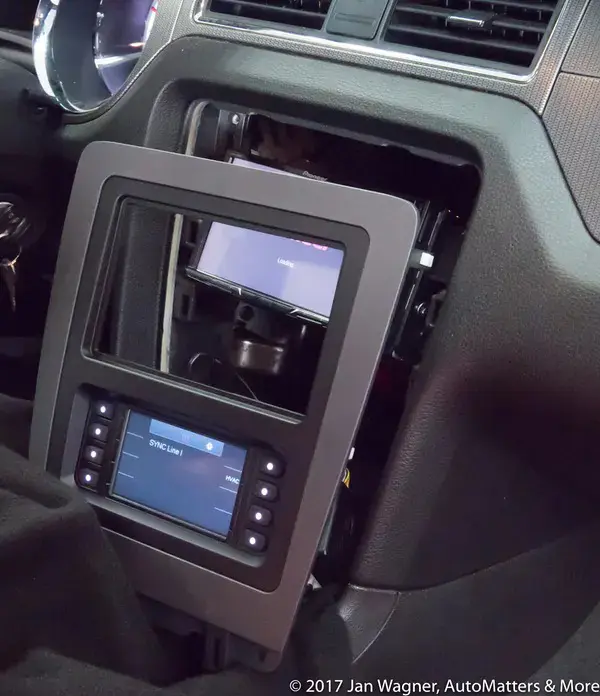
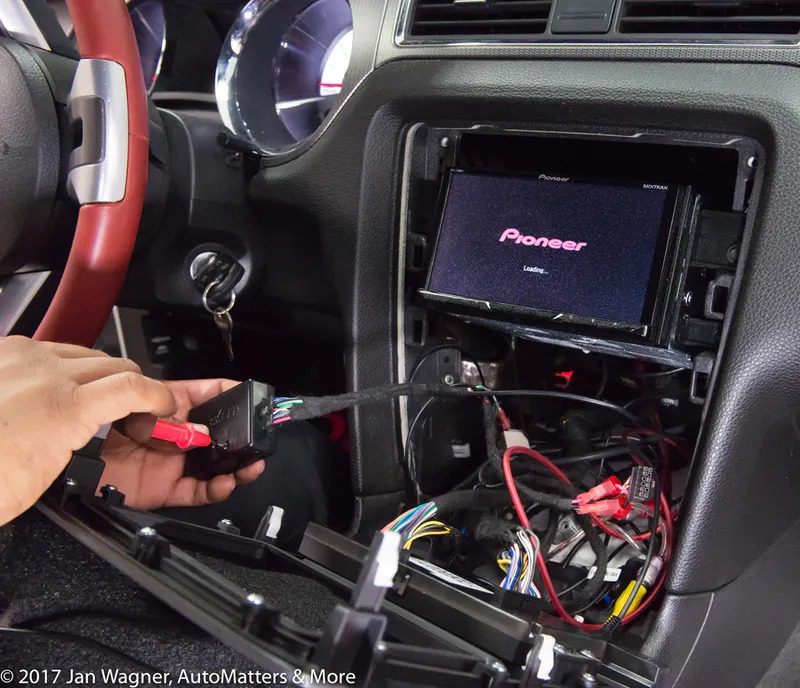
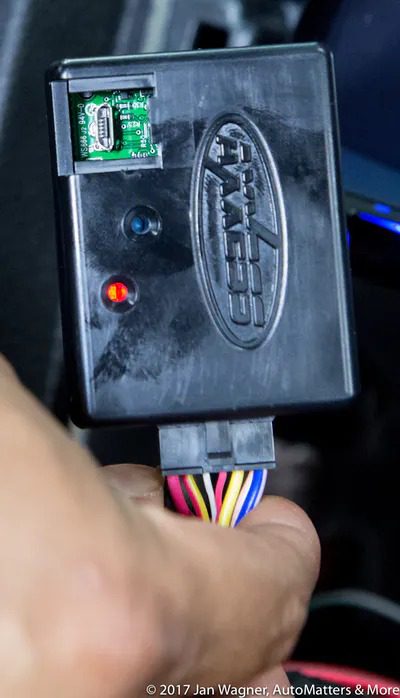
Included in the installation were a SiriusXM Satellite Radio module, Metra Turbo2 Automotive Install Kit (with a touch screen for climate control functions and personalization features) and an Axxess Integrate Steering Wheel Control Interface kit (so that I could retain the use of my Mustang’s steering wheel audio controls).
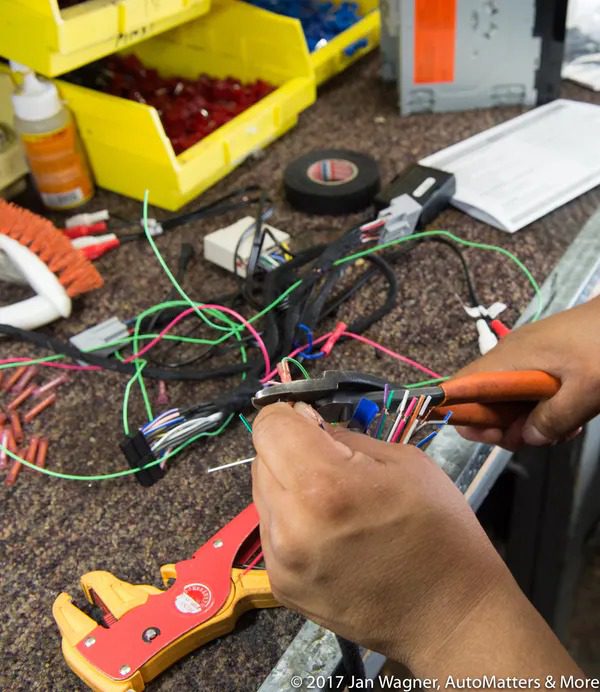
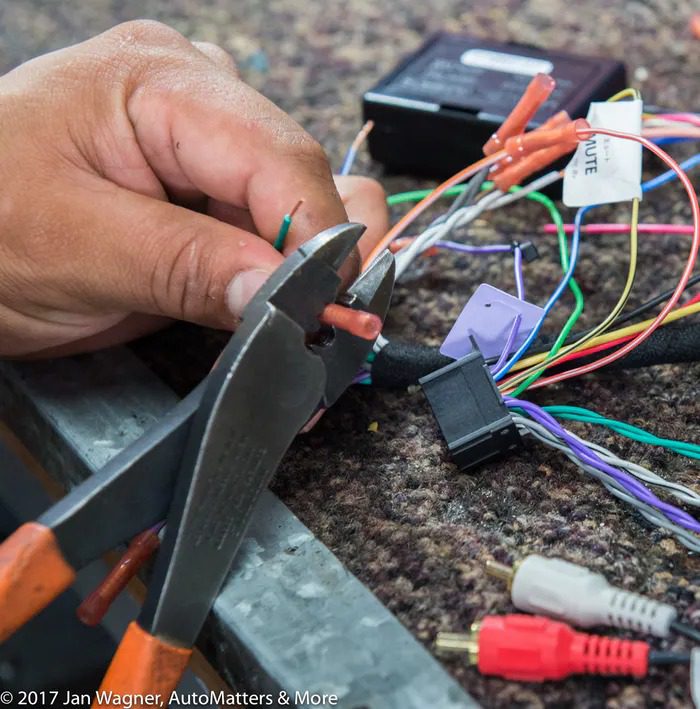
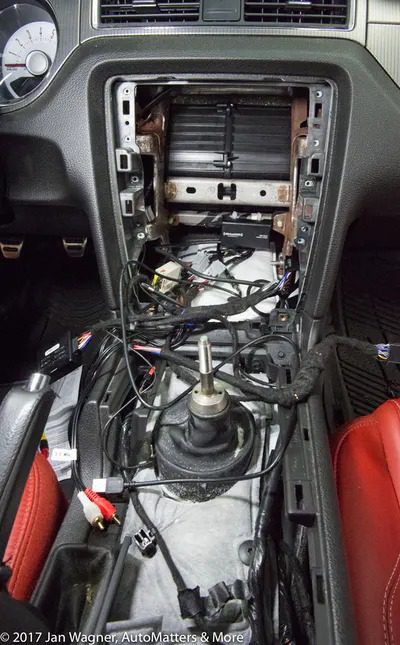
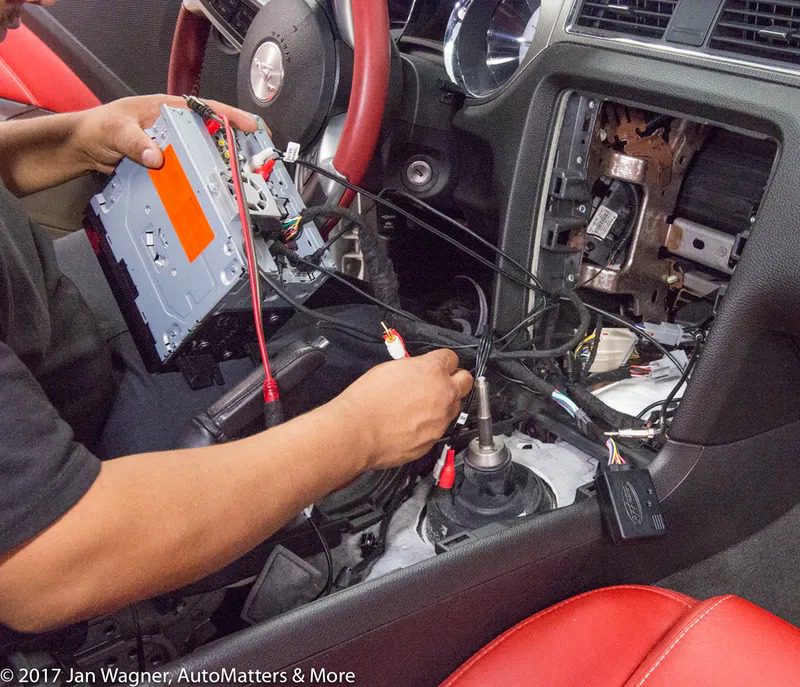
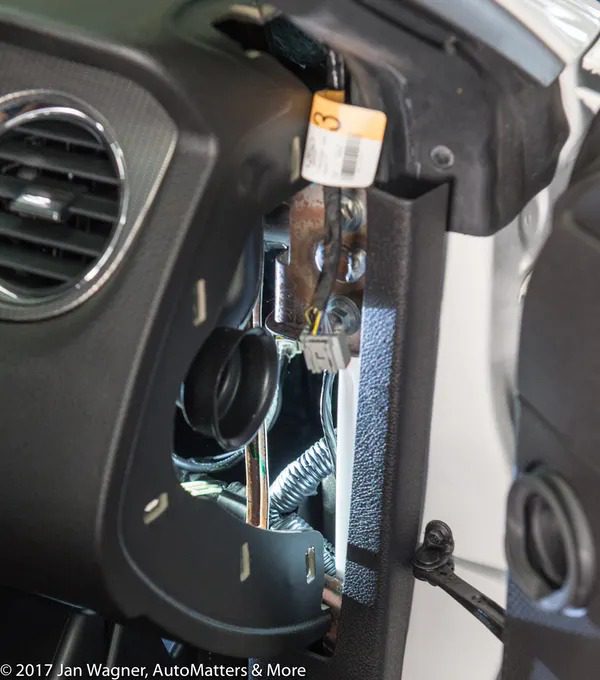
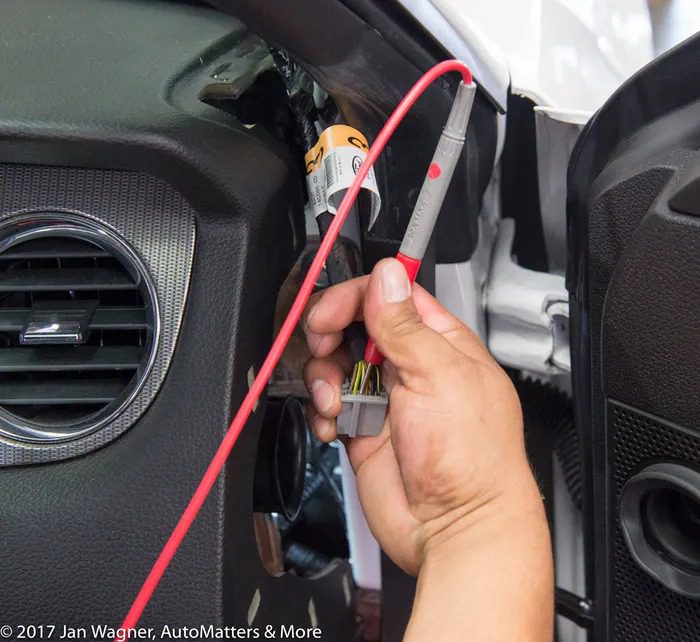
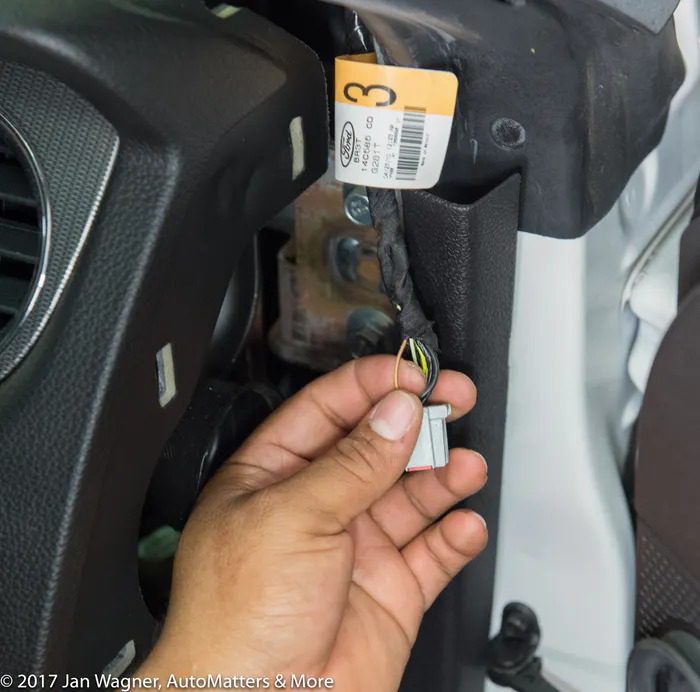
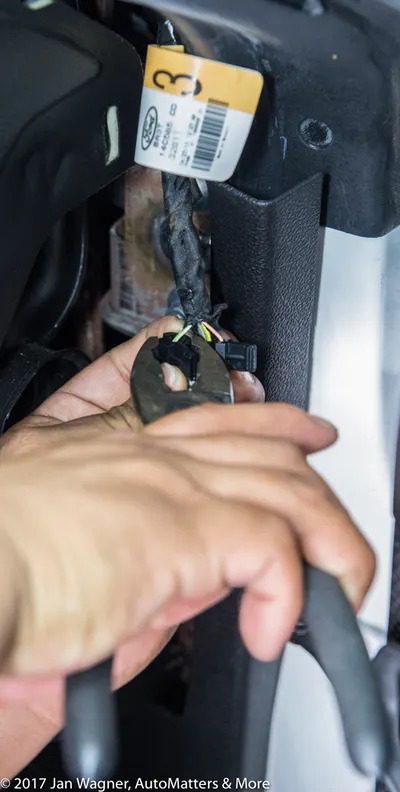
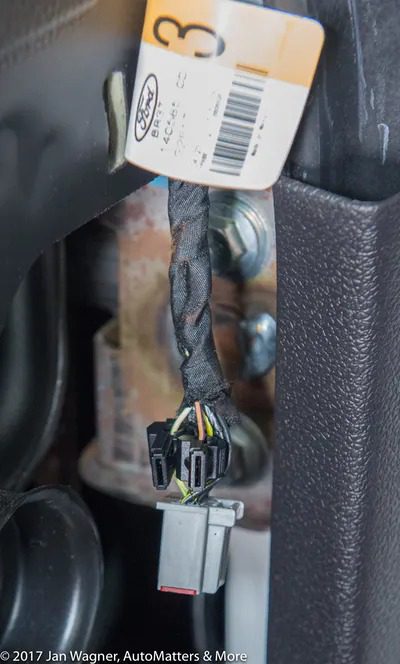
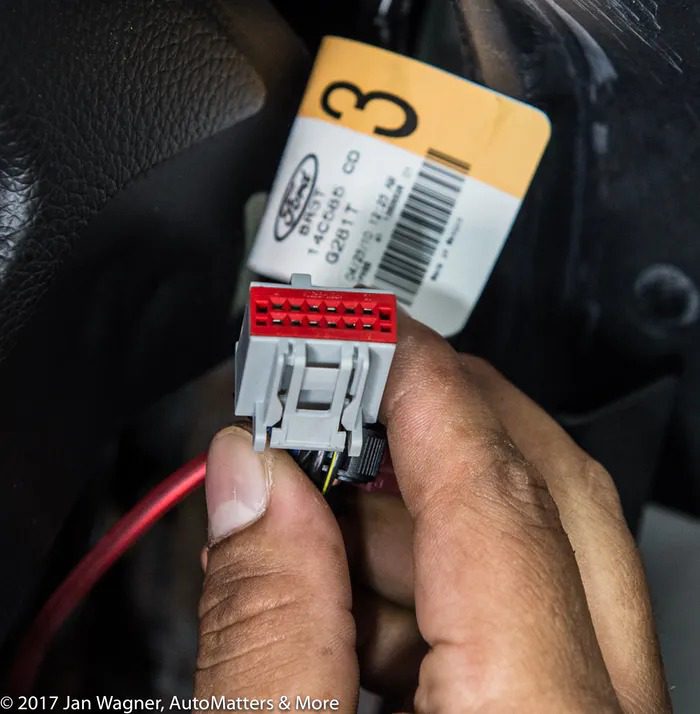
Even though there is an installation manual, this is a complicated process. Based on my observations I can tell you that this is a job best left to professionals. On my car I wanted its existing backup camera and steering wheel controls used. The existing climate control system knobs were replaced by visual representations of those on a second screen. Behind the car’s interior panels there is a confusing rats’ nest of wires – in a multitude of colors and locations. Good luck trying to get all of the connections right if you have not done this many times before. If you want to enjoy the best integration of your amazing new Pioneer AVH-2330NEX in your car, leave it to the professionals.
Once everything is installed, you’re going to want to dive right in and start using it. There is a “Quick Start Guide” in the box, but I recommend that you visit www.pioneerelectronics.com/PUSA/Car. Click on “SUPPORT,” enter AVH-2330NEX in the window, click on “GO” and then click on “Product Information.” There you will find descriptive overviews with photos of the many features, specifications, videos (What’s in the Box, 2017 Pioneer NEX Lineup and How To’s) and manuals. Here you can download the 140-page “Operation Manual.” Do that and you will be well on your way to discovering the many things that your new AVH-2330NEX can do.
COPYRIGHT © 2017 BY JAN WAGNER – AUTOMATTERS & MORE #511R1